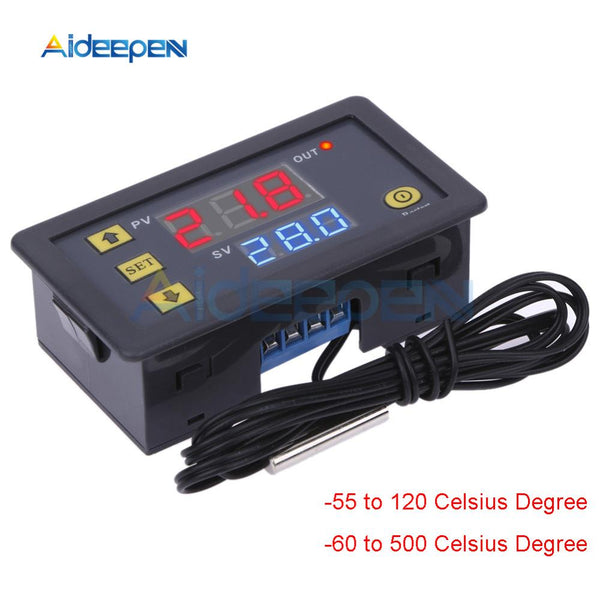
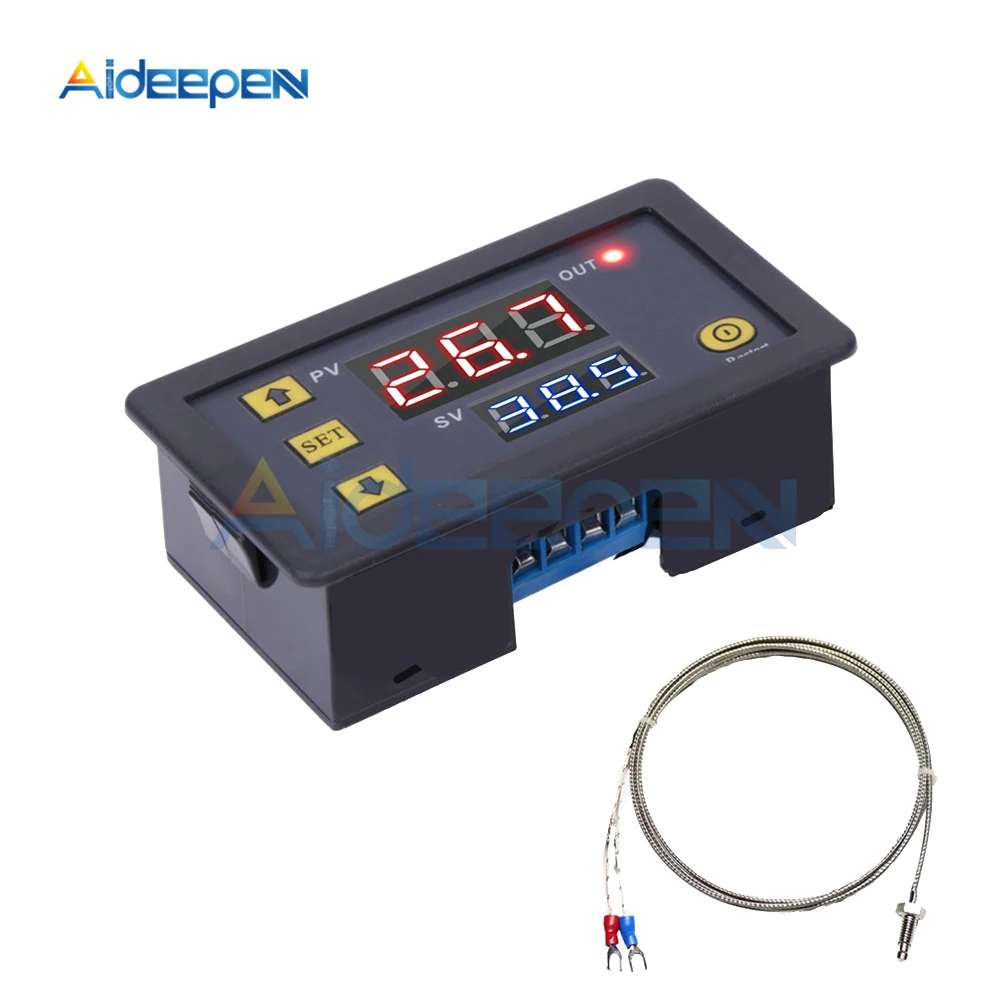
W3230 -60~500℃ DC 5V 12V 24V 110V 220V AC Digital Temperature Controller LED Display Thermostat With Heating Cooling Switch
W3230 -55°-120° Temperature Controller
Description:
- Mini temperature controller.
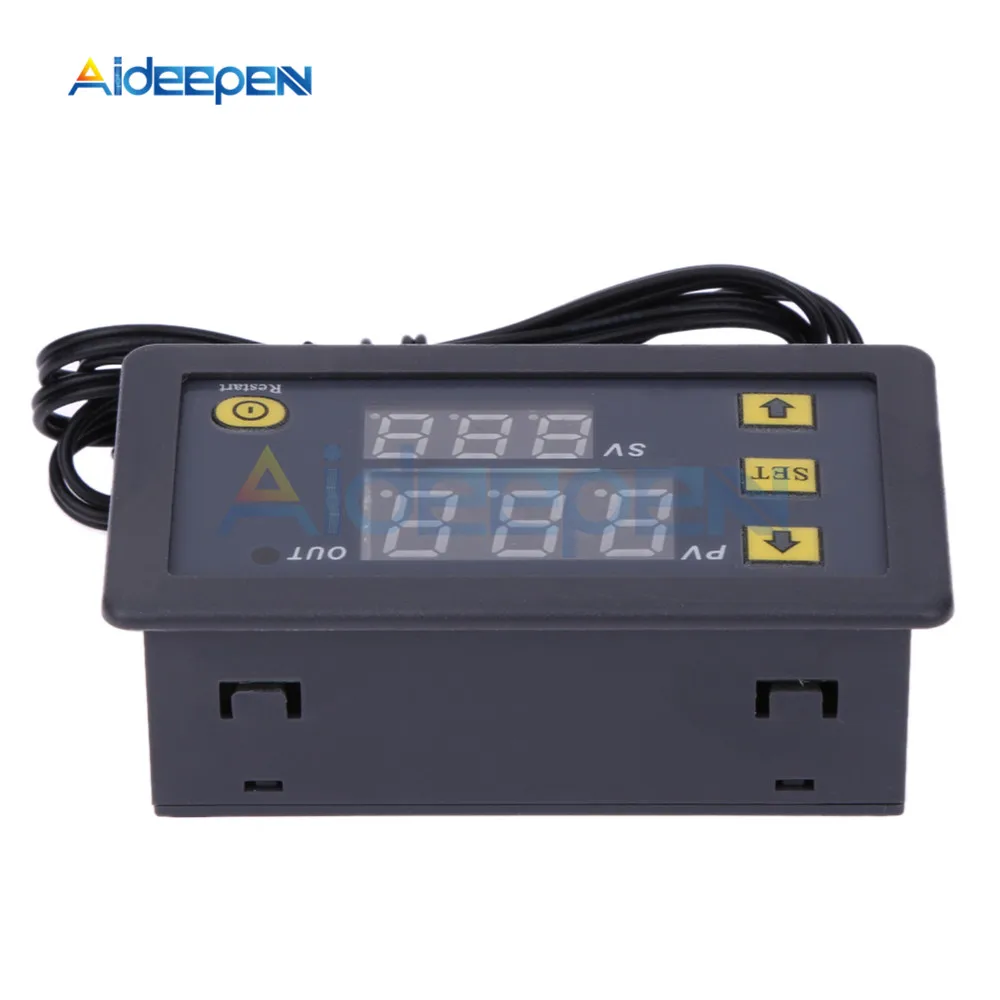
- With clear LED display for better readability.
- Wide temperature measuring range.
- Heating or cooling control.
- All parameters setting can be saved after short circuit.
- Relay output.
- High Control precision 0.1 centigrade
- Can be used for domestic freezer, water tanks, refrigerator, industrial chiller, steamer, industrial equipment and other temperature-controlled system.
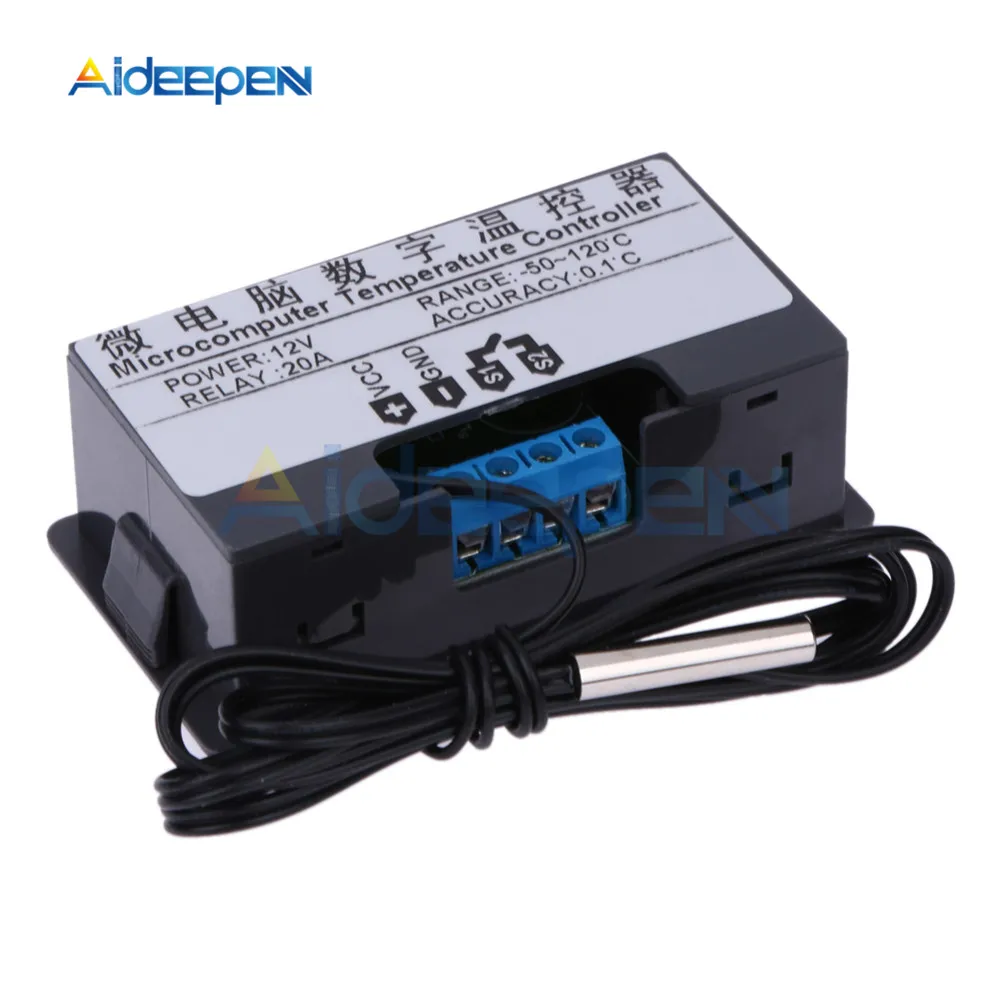
Specifications:
- Power Supply:12V DC/24V DC/110V-220V AC
- Temperature Control Range:-55°-120°
- Resolution Ratio: 0.1°C(-9.9-99.9); 1°C(other range)
- Color of Displaying: red/blue
- Measurement accuracy: ±0.1°C
- Control accuracy: 0.1°C
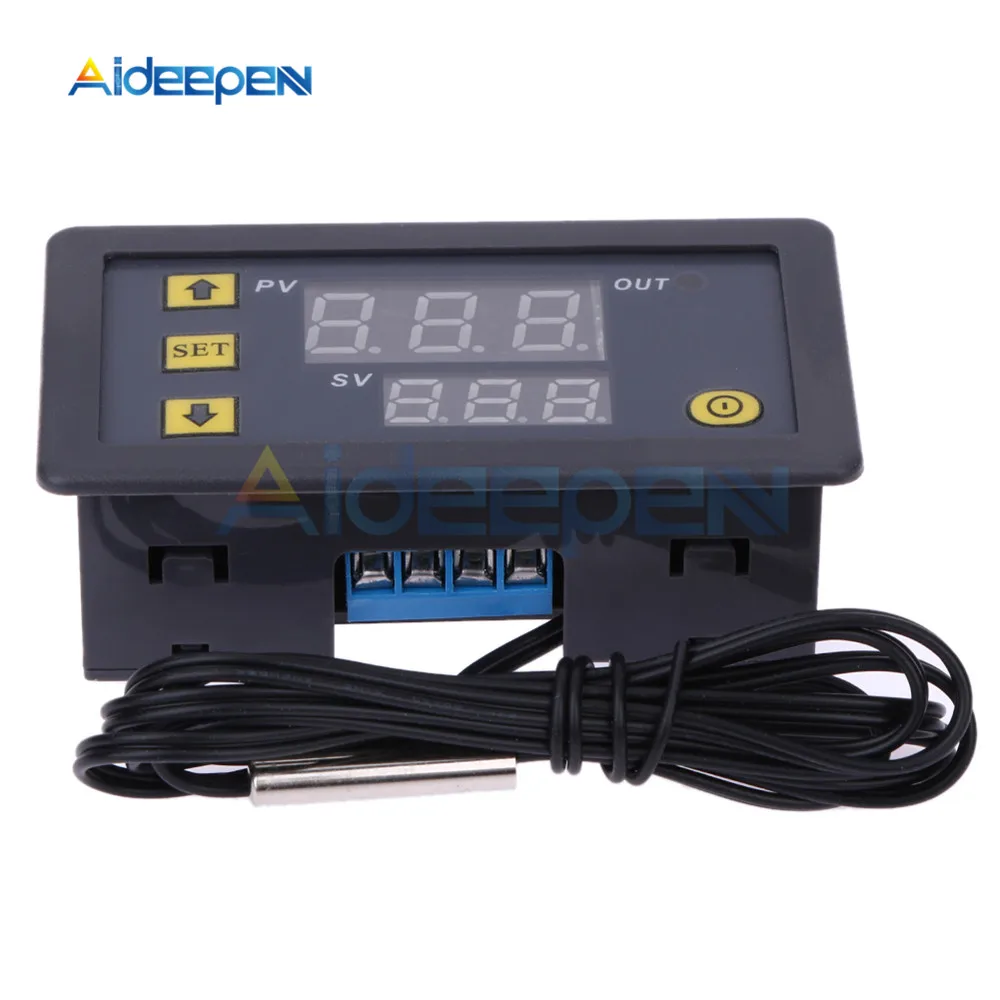
- Sensor: NTC10K Waterproof sensor
- Output: Relay Contact Capacity 10A 220V / 20A 12V / 20A 24V
- Environmental requirements: -10-60°C , humidity 20%-85%RH
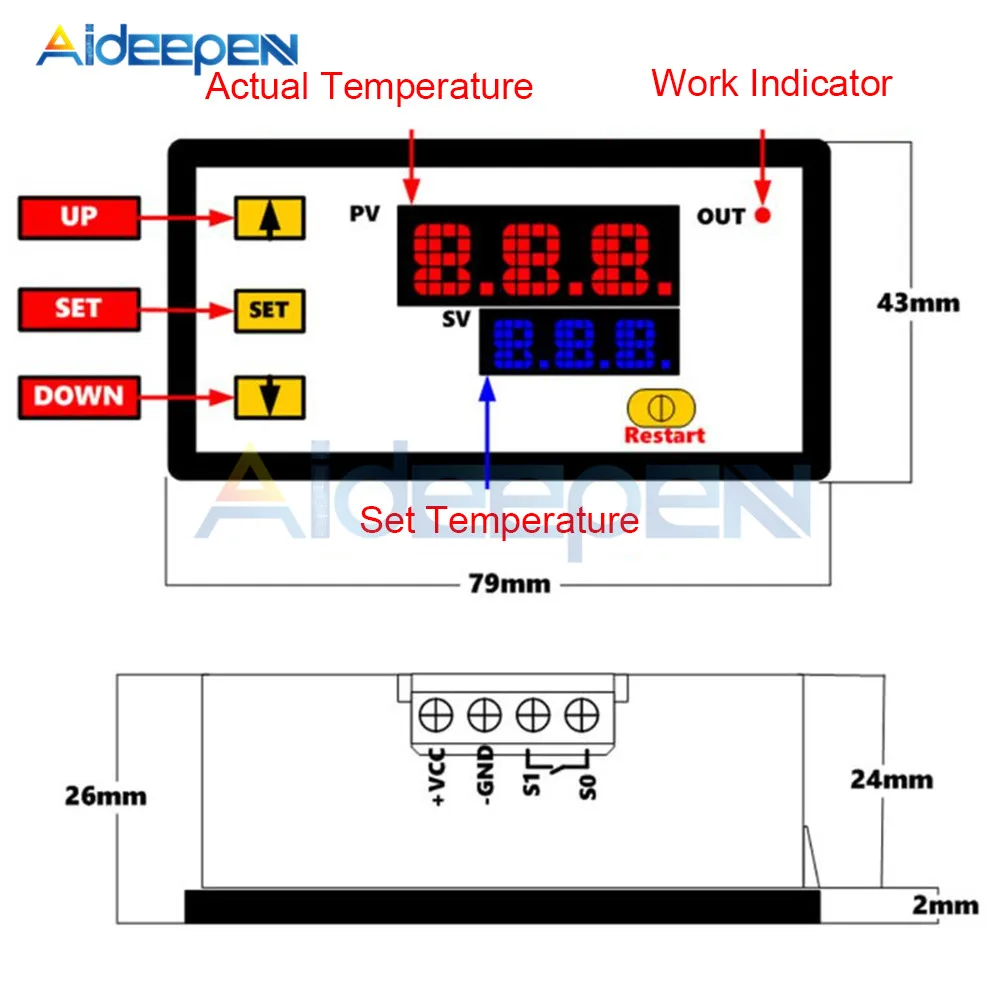
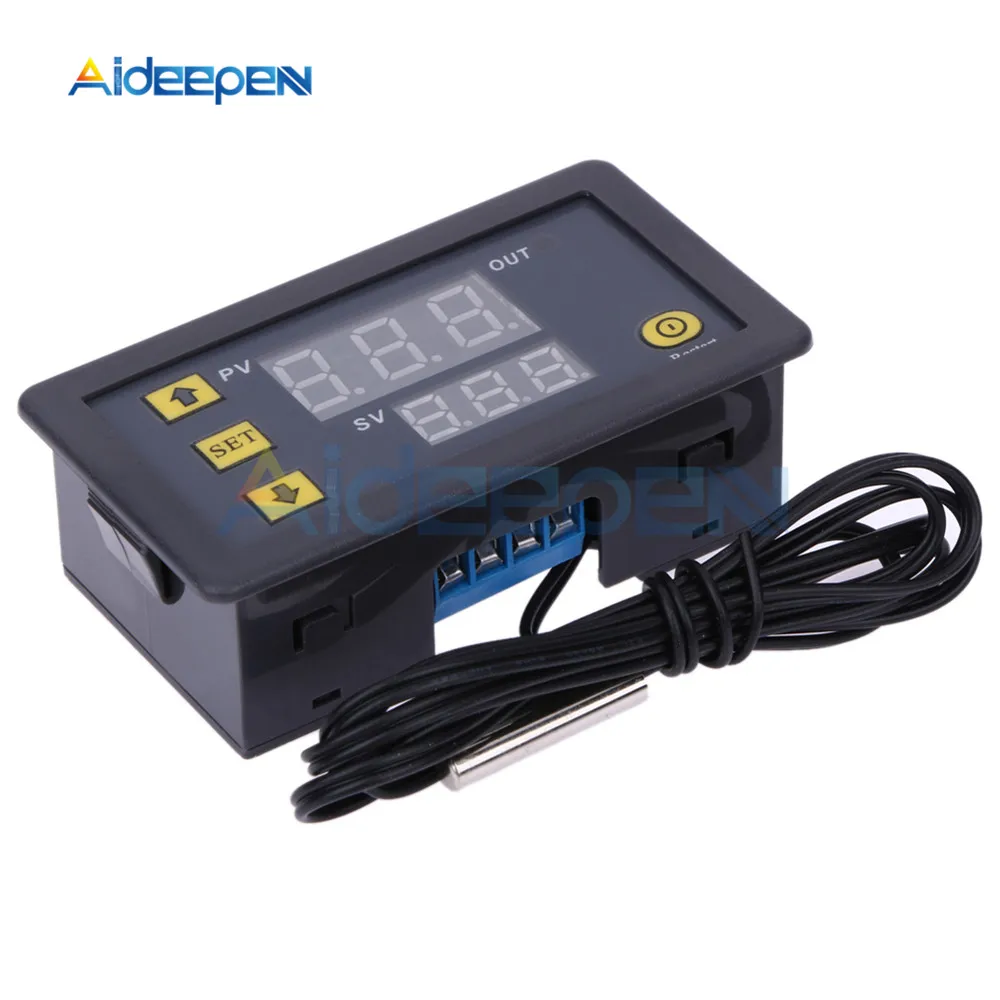
- Dimension:79mm *43mm*26mm
- Cutting Size:73mm*39mm
- Sensor wire: 1 meter
Code table:
|
Code
|
Function
|
Set Range
|
Default
|
|
P0
|
Heating/Cooling
|
H/C
|
C
|
|
P1
|
Return Difference
|
0.1-30
|
2
|
|
P2
|
Setting limits to the manimum
|
120
|
120
|
|
P3
|
Setting limits to the minimum
|
-55
|
-55
|
|
P4
|
Temp. Correction
|
-20
|
0
|
|
P5
|
Delay Start
|
0-10min
|
0
|
|
P6
|
Alarm Temp
|
-175
|
OFF
|
|
P7
|
Data locked
|
ON/OFF
|
OFF
|
|
P8
|
Restore factory settings
|
ON/OFF
|
OFF
|
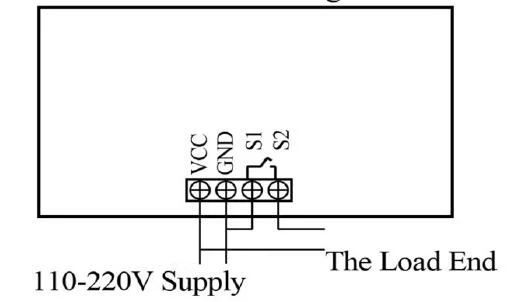
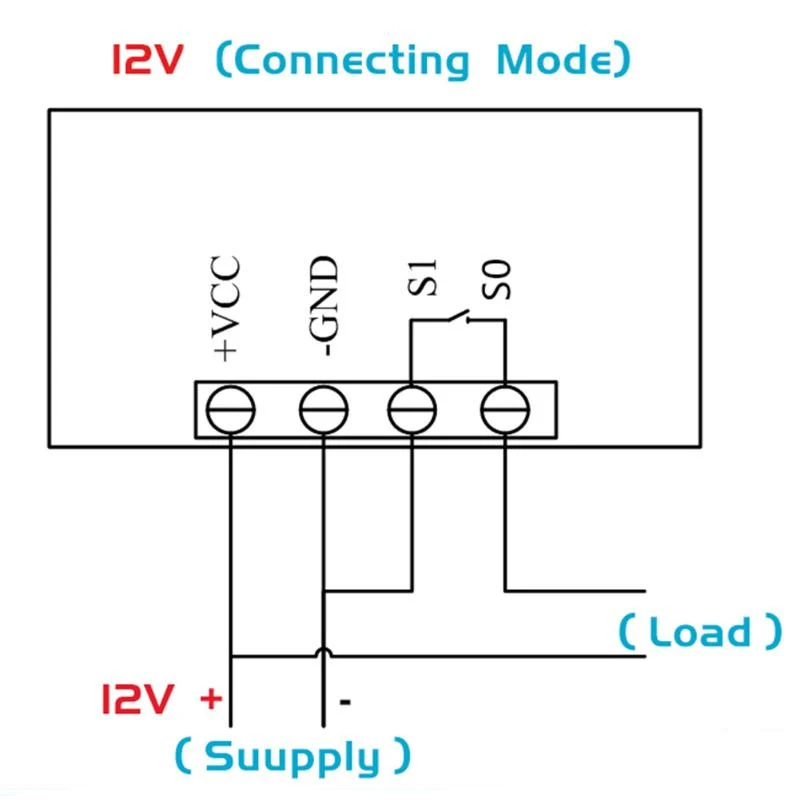
Wiring Diagram:
12V DC:

24V DC:

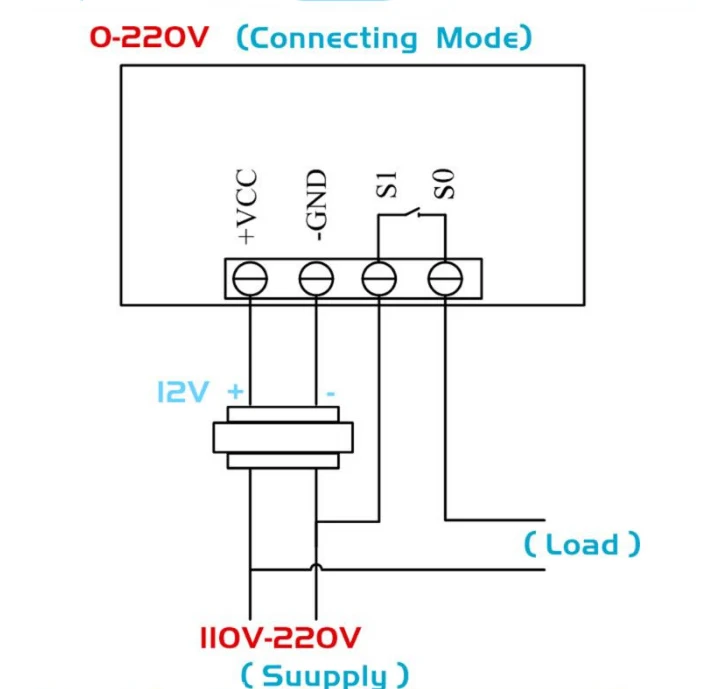
110V-220V AC:
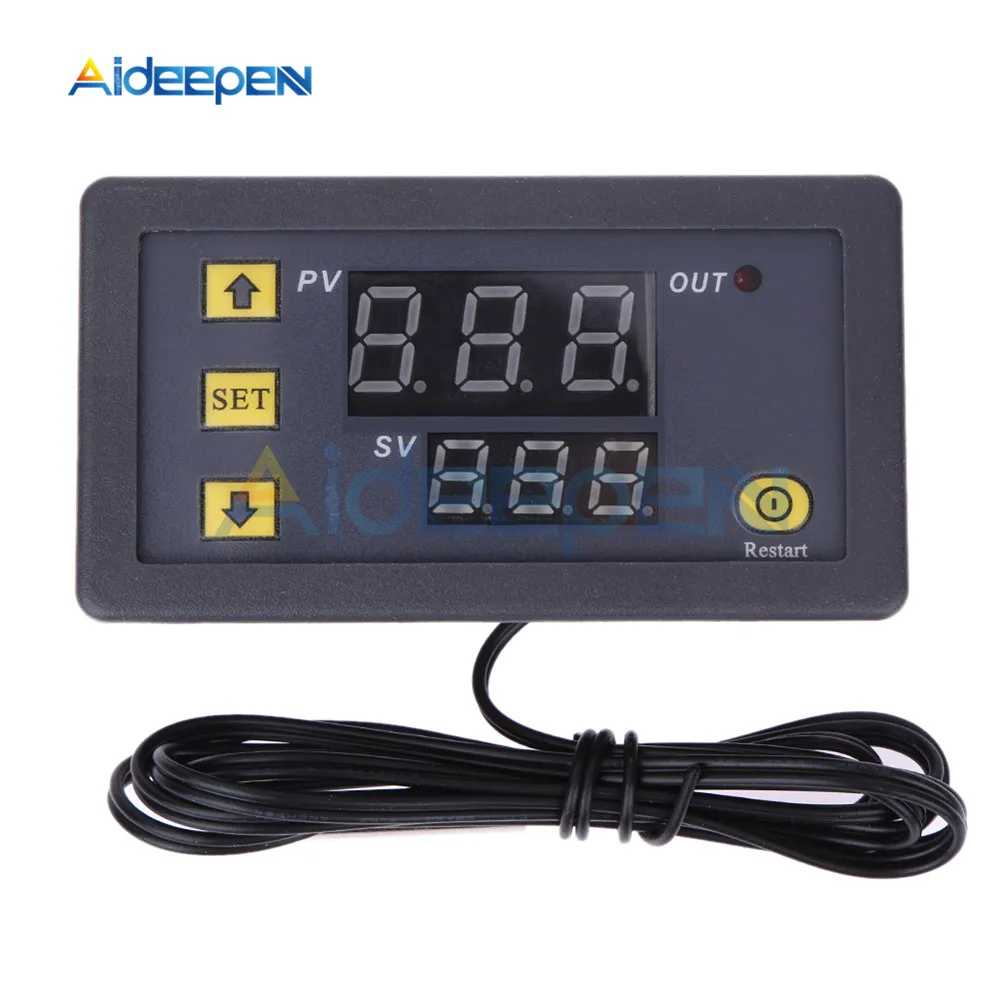
Package Include:
1PC x W3230 AC 110-220V/DC 12V Digital Thermostat Temperature Controller Regulator Heating Cooling Control Thermostat Instruments -55-120 Degree
Instructions:
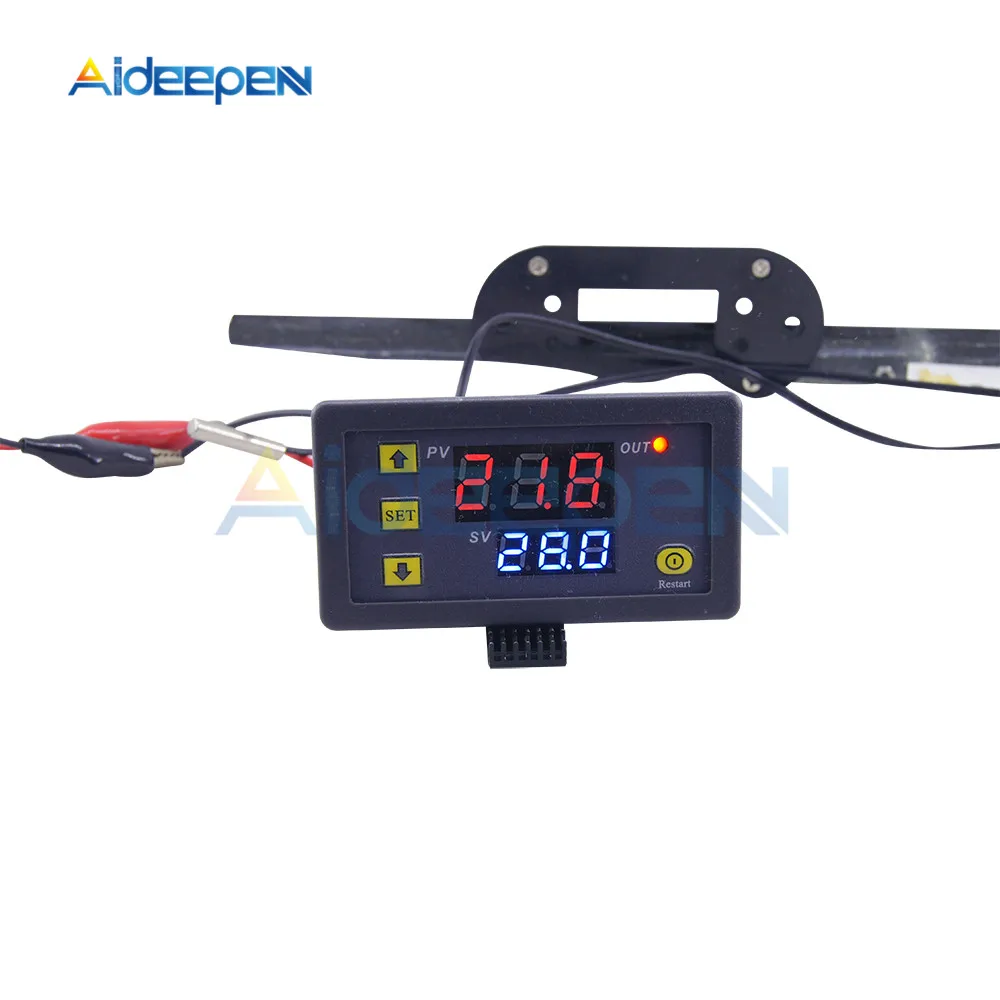
Connect the power supply and equipment to supply power to the controller. At this time, it is displayed as measuring temperature. Press SET once, the display temperature will flash, press +- to set the desired temperature (press +- to quickly raise and lower) After finishing, press SET to confirm the return. At this time, the controller automatically performs relay on/off according to the setting! The output of the thermostat is a 20A relay, which satisfies various high-power loads. When the control circuit is connected, the thermostat can be powered. At this time, the display shows the ambient temperature.
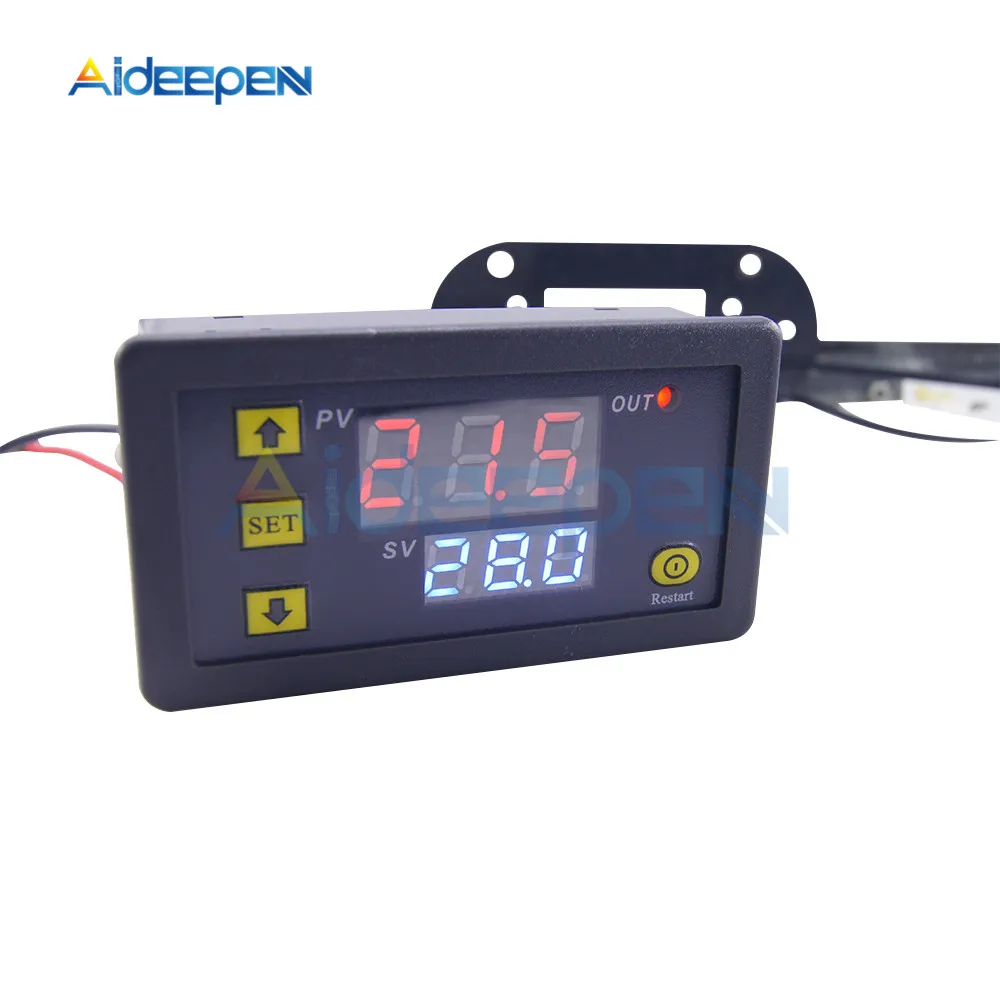
Indicator light, digital tube status description
Indicator light: Blinking indicates cooling or heating start delay, always on indicates that the relay is closed
Digital tube: Display LL is the sensor open circuit, please follow the instructions to connect the sensor; display HH is out of the measurement range, the thermostat will forcibly open the relay; display --- for high temperature alarm
Parameter function description
Press and hold SET for 5 seconds to enter the main menu settings, press +- to switch P0...P6, long press SET or 10 seconds without button action, the controller automatically confirms the return.
P0 cooling and heating mode
Press and hold SET for 5 seconds to display P0, press SET once to set the working mode, press +- to switch [H is heating mode] [C is cooling mode] Press SET once to return, long press SET or 10 seconds without button action controller automatically confirm carry out.
In the cooling mode: when the temperature measurement value ≥ the temperature set point, the refrigeration relay is closed and the refrigerator is started; when the temperature measurement value ≤ temperature set point - the return difference, the refrigeration relay is turned off and the refrigerator is turned off.
In the heating mode: when the temperature measurement value ≤ temperature set point, the heating relay pulls in and the heater starts; when the temperature measurement value ≥ temperature set point + hysteresis, the heating relay is turned off and the heater is turned off.
P1 hysteresis setting
Press and hold SET for 5 seconds to display P0, press +- to switch to P1, press SET once to return the difference, press +- to set the difference to 0.1-15, press SET once after completion, long press SET or 10 seconds without button The motion controller automatically confirms the completion.
In the cooling mode: when the temperature measurement value ≥ the set value, the relay is closed, the refrigerator starts; when the temperature measurement value ≤ the set value - the difference value, the relay is turned off and the refrigerator is turned off.
For example, if the environment is 30 °C, the set value is 25 °C, and the hysteresis is set to 2 °C. After the power is turned on, the relay closes the refrigerator to start. When the cooling reaches 23 °C, the relay turns off the refrigerator and the refrigerator is turned off. The open temperature starts to rise. When it rises to the set value of 25 °C, the relay closes the refrigerator again, so the repeated cycle control temperature is not higher than 25 °C.
In the heating mode: when the temperature measurement value ≤ the set value, the relay pulls in and the heater starts; when the temperature measurement value ≥ the set value + the difference value, the relay is turned off and the heater is turned off.
For example, if the environment is 10 °C, the set value is 25 °C, and the hysteresis is set to 2 °C. After the power is turned on, the relay closes the heater to start. When it is heated to 27 °C, the relay turns off the heater and the heater is turned off. The on temperature begins to decrease. When it drops to the set value of 25 °C, the relay closes the heater to start again, so the repeated cycle control temperature is not lower than 25 °C.
P2 maximum temperature setting upper limit
In order to avoid the danger of setting the temperature too high due to the misoperation of others, the thermostat has the highest setting upper limit function, which limits the setting range of the highest temperature set point controlled by the thermostat.
Press and hold SET for 5 seconds to display P0, press +- to switch to P2, press SET once to set the upper limit, press +- to set the highest settable temperature, the maximum value is 110, press SET once after completion, press SET or 10 The second button is not pressed and the controller automatically confirms the completion.
For example: set to 60 temperature set point can only be set to 60 ° C. If the temperature set point is to be expanded, the upper limit set value needs to be adjusted first.
P3 lowest temperature setting lower limit
In order to avoid the ice blockage caused by the misoperation of others, the temperature controller has the lowest setting upper and lower limit functions, which limits the setting range of the lowest temperature set point controlled by the thermostat.
Press and hold SET for 5 seconds to display P0, press +- to switch to P3, press SET once to set the minimum lower limit, press +- to set the lowest settable temperature, the lowest value is -50, press SET once after completion, press SET or The controller automatically confirms completion without a button action for 10 seconds.
For example: set to 2 temperature set point can only be set to 2 °C minimum. If the temperature set point is to be expanded lower, the lower limit set value needs to be adjusted first.
P4 temperature correction
When the measured temperature is deviated from the standard temperature or due to special needs of the user's hardware, this function can be used for correction. The corrected temperature = temperature before correction + correction value The valid range is -7.0~7.0.
Press and hold SET for 5 seconds to display P0, press +- to switch to P4, press SET once to correct, press +- to set the correction value, press SET once after completion, long press SET or 10 seconds without button action controller automatically confirms completion .
For example, the normal display is 25 degrees; when the temperature is corrected to 0, it displays 25 degrees; when the temperature is corrected to 1.5, it shows 26.5 degrees; when the temperature is corrected to -1.5, it shows 23.5.
P5 delay start time (unit: minute)
When the refrigerator or heater is working with a delay, the delay function can be turned on to protect the life of the device.
Press and hold SET for 5 seconds to display P0, press +- to switch to P5, press SET once to set the delay start time unit is minute, press +- to set 0-10 minutes, press SET to return after completion, long press SET or 10 seconds No button action controller automatically confirms completion
In the cooling mode: the first time the power is turned on, if the current temperature ≥ the set value, the refrigerator will not start the cooling immediately, and it needs to run after the set delay time.
In the heating mode: the first time the power is turned on, if the current temperature ≤ the set value, the heater will not start heating immediately, and it needs to run after the set delay time.
The chiller starts immediately when the downtime between the two starts of the chiller or heater is greater than the set value of the delay start time.
When the stop interval between the two starts of the refrigerator or heater is less than the set value of the delay start time, the device can start after restarting the set delay time of the set after the run. The delay time is calculated from the moment of shutdown.
For example, the setting delay is 5 minutes in the cooling state, the cooling device starts to delay after the power is turned on, and the refrigerator is turned on after 5 minutes. When the required temperature is reached, the refrigerator stops, and the timing starts, when the next cooling start timing is completed. Work, unfinished timing must wait for the end of the timer to work, the LED indicator flashes during the delay.
When the delay start is set to 0, it is equal to the off delay function.
How to save settings
If you want to save the set data, set P7 to ON when the temperature is set and the power is off. In this case, the last setting will be retained when the power is turned off.
Reset
Due to some human reasons, the internal setting of the thermostat is confusing. It takes a lot of time to set the time. In this case, you can use this function to restore the factory settings. In the off state, press and hold the + and - buttons simultaneously. , then power on, all the above parameters are restored to the factory settings.

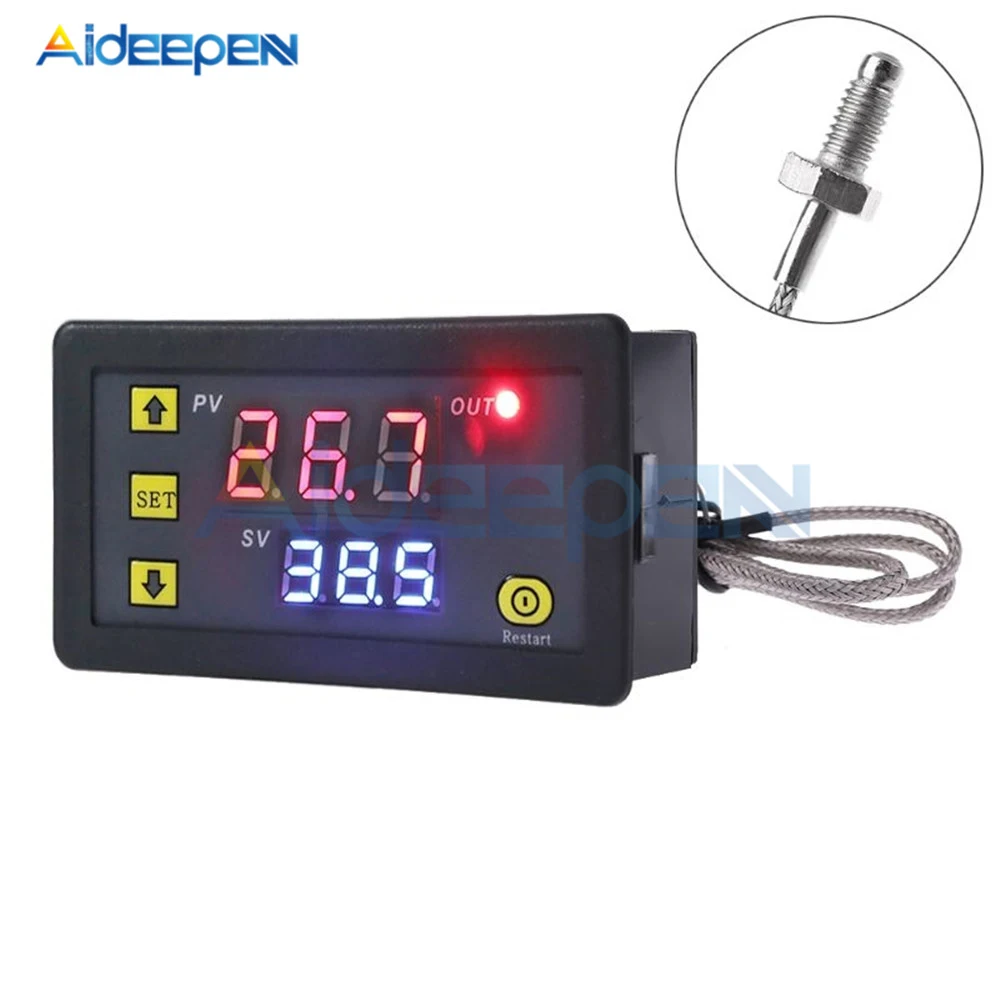
-60°-500° Temperature Controller
Description:
K-type thermocouple thermostat function: The product has a total of four keys, plus, minus, SET (set key), reset key. There are two sets of digital tubes to display the actual temperature and the set temperature, respectively. All parameters are automatically memorized after 5s.
Specifications:
Product name: High temperature K type thermocouple thermostat
Power Supply:5V DC/12V DC/24V DC/110V-220V AC
Temperature control range: -60℃ ~ 500℃
Cable Length:42cm
Temperature measurement accuracy: 1 ℃
Resolution: 0.1C
Refresh frequency: 0.5S
Measuring input: type K thermocouple
Output: One 10A Relay
Opening size: 74mm (length) * 39mm (width)
Code table:
|
Code
|
Function
|
Set Range
|
Default
|
|
P00
|
Heating/Cooling
|
H/C
|
C
|
|
P01
|
Return Difference
|
0-50
|
2
|
|
P02
|
Temp. Correction |
-10-10
|
0
|
|
P03
|
Max Temperature Alarm Value
|
|
500
|
|
P04
|
Min Temperature Alarm Value
|
|
-60
|
|
P05
|
Data Lock
|
|
OFF
|
Wiring Diagram:
5V 12V 24V DC:
110V-220V AC:
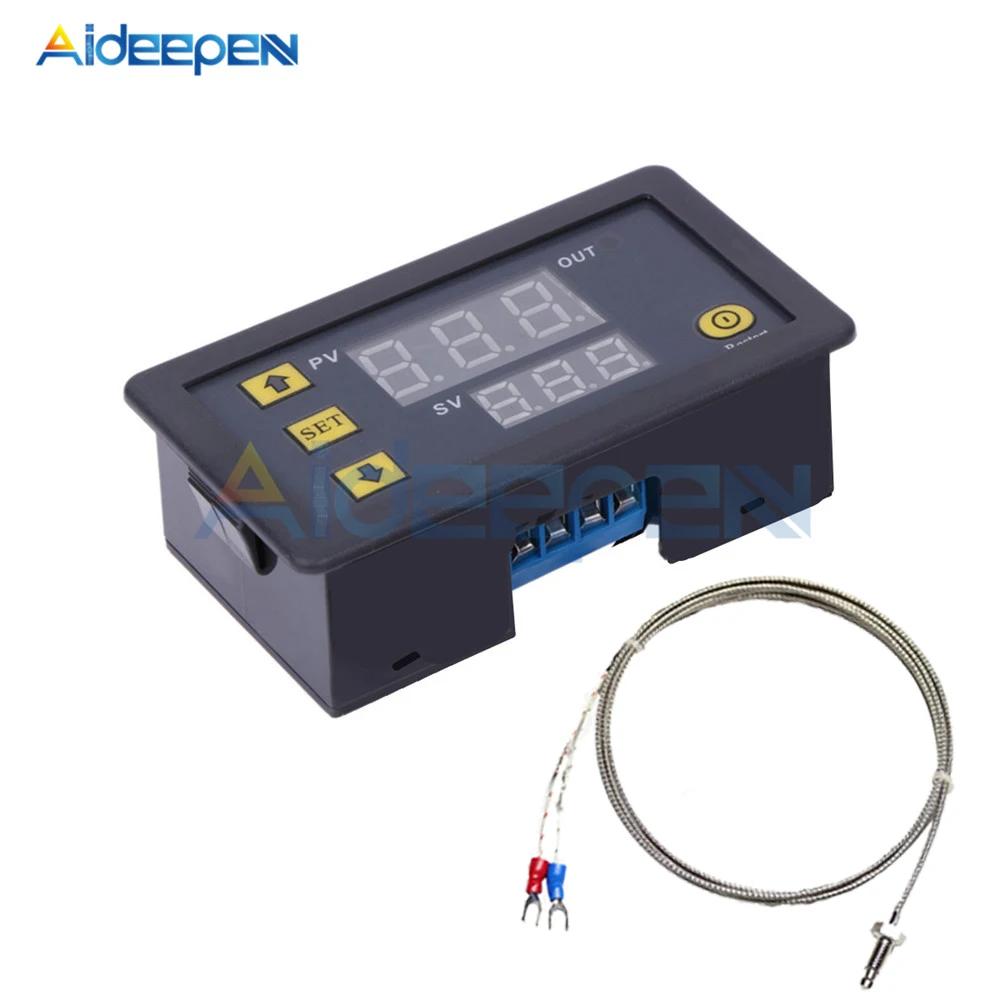
Package Include:
1 x AC 110-220V/DC 5V 12V 24V Digital Thermostat Temperature Controller -60-500 Degree
1 x Sensor Probe Cable
Instructions:
Red digital tube: actual temperature,
Blue digital tube: set temperature
Press key to increase: increase the set temperature.
Press the key to decrease: decrease the set temperature.
Restore factory settings: Press and hold the button plus and minus 5 seconds or more to restore the original setting data.
Set key (SET):
1. Press SET shortly to increase the temperature by 50 ° C each time. The user can first press SET to quickly set the temperature near the preset temperature, and then adjust the temperature to the preset temperature by adding or subtracting keys.
2. Press and hold SET to enter the parameter setting option. There are several groups of parameters P00 ~ P05 for users to set. After entering the parameter interface, short press SET can switch P00 ~ P05. Set the corresponding data by pressing the plus or minus key under the corresponding parameter. After setting, the system will automatically memorize the data and return to the display interface.
P00: H heating mode / C cooling mode
P01: Temperature difference backlash (0~500°)
P02: Temperature correction(-10~10°)
P03: Maximum temperature alarm value (500°)
P04: Minimum temperature alarm value (-60°)
P05: Data lock (ON/OFF)
Application 1: This thermostat can be widely used in boiler water temperature control, water dispenser water temperature control and automatic cupboard water temperature control.
Application 2: This thermostat can be used for printer equipment, hatch control, and intelligent control of refrigerator air conditioners.
Application 3: This temperature can be widely used in the fields of intelligent agricultural control, greenhouse temperature control, and automatic irrigation.